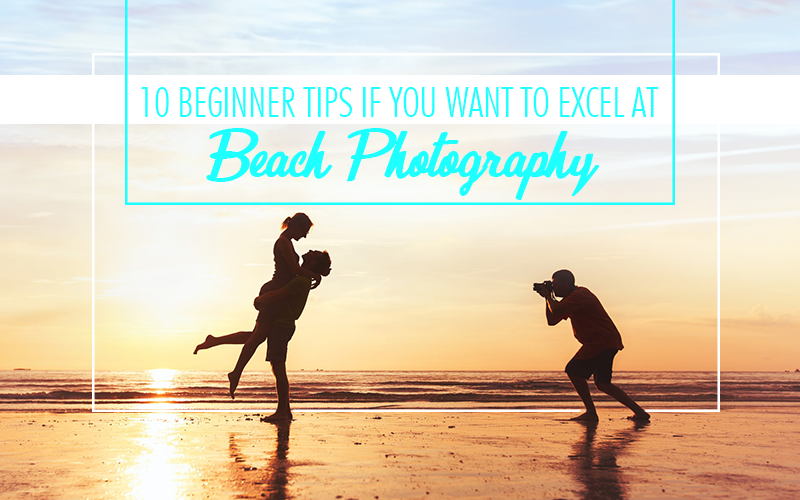
10 beginner tips to EXCEL at beach photography
Are you new to the endless passion known as “Photography? It’s great, but do you know how to communicate your passion? Besides, what aspects keep you hooked? For example, If you love being out on the sticky sand all day long, spotting seagulls gliding through the moonless sky, the gurgling of water pleases your soul, then beach photography could work well for you.
The beach, apart from stellar scenarios offers an opportunity to click magnificent moments. Although there are so many incredible genres of photography to explore, shooting at the beach works very differently. Everything that emerges in a rocky and watery site adds to the excitement, energy, and effort you put in the pursuit of your passion or profession. Therefore, we settle for the fact that beach therapy is more than just pretty pictures; it contemplates a unique experience for the man or woman behind the lens.
Capturing the moments on a beach is a challenging task. It’s not as as easy as it seems. If you’re into it, you already know the hassles. Your skills are severely tested when you are capturing photos of flowers or any subject in the midday. The hard light stops you from going laid-back because of the hard shadows it’s continuously painting. You can’t click a perfect shot until and unless you make that shadow disappear. Similarly, many external factors count when you want to achieve picture-perfect photography at the wide-open spaces.
Following are our evergreen tips for beginners that will help you every time you’re on the beach with your best friend.
Back to the grind, learn all you can:
1. Take photos in RAW
To make sure the outcome comes off right, initially learn the difference between the brightness of the sand, sun, and water. Then, adjust exposure. Fix the level of light between the settings “underexposed and overexposed.” The RAW format allows you to enjoy increased flexibility as you have many options when you fix problems in the post-processing stage.
2. Focus on the main subject/object
Beaches undoubtedly are one of the most beautiful places on the face of the earth; still it turns out to be unimpressive when you don’t define a focal point. The focal point could be anything – a person, shoes, pair of shoes, empty benches – And it should portray a compelling story. Additional Tip: Babies Photography in the presence of natural lit up the environment is making all the difference these days.
The reason is apparent: Viewers need content that catches their attention.
3. Click at sunrise or sunset
Keep in mind that timings and lighting are critical factors when you want to take less or more luminous photos. Preferably, take your camera out on two times (the hour after sunrise or before sunset).
Additional Tip: With the sun sinking low in the sky, there’s often less risk of harsh shadows and overexposure.
4. Carry an air blower and a soft cloth
Unfortunately, sand and expensive camera gear is not a suitable combo. Your hard-earned lens and sensors can get hurt, and you might not like to meet an overwhelming loss. Hence, a quality air blower will help you keep pesky sand and dust off your gear. Lens cloths also work wonders in wiping off the lens with care.
5. Always set a tripod
Tripods have a special place in the world of photography — you don’t need to wonder why. Tripods are the only way you can play with shutter speeds and give a shot to the best photo quality. They are heavy to carry. However, they’re an important camera gear.
6. Polarizing filters
If you’ve been practicing beach photography for a while, the term “polarizing filters” may be familiar to your ears. Today’s photography services website makes substantial use of this tool, as well. These modern filters are necessary as they excellently enhance blues, darkens shadows, and edits out glare from reflective surfaces. Other than these, these are significant in sharpening colors and prevent blown-out frames.
7. Try different shutter speeds
Do you want to create breath-taking effects for your photos? This is possible in many ways. Get started with increasing the shutter or if it disappoints you “slowdown.” This technique is brilliant for beautiful beach photography. The rule of thumb suggests a shutter speed of ⅛ to ½ second can lead to a slight blur. But if you want to capture blurred water, open the shutter for 15-30 seconds.
Additional Tip: A flawless image of smooth water necessitates over 30 seconds of exposure.
8. Use a wide angle lens
Using a wide-angle lens is a basic of the landscape photography rules. It’s essential as the purpose of the wide lens is to highlight objects in the foreground and help you create a sense of depth. Concerning this point, follow the “low and close” movement–capture the focal point in the foreground as close and as low as possible.
9. Sun stars
Capturing sun stars are more complicated. The imagery happens when you set your lens aperture to around f/11 or smaller and capture photos where the sun is partially in a scene.
10. Go careful with setting smartphone ISO values
Contemporary phone cameras are absolutely capable of producing flattering beach photos. In its camera settings, the aperture size is usually fixed, so you’re down to set only two variables: ISO and Exposure Time. The higher the ISO, the photograph fills up with more noise. So play around and determine which ISO setting is worth a shot.
Bonus tip: Don’t trust the autofocus feature. Instead, manually set the autofocus area by touching the screen.
The Bottom Line
These ten tips can transform your game to the next level. If you are interested in beach wedding photography, our Destin Beach Wedding Photography tips may prove useful.
Our beach photographers are experts at using all these tips and more. If you want to be sure to get the shot, sign up for one of our beach photos shoots today!


